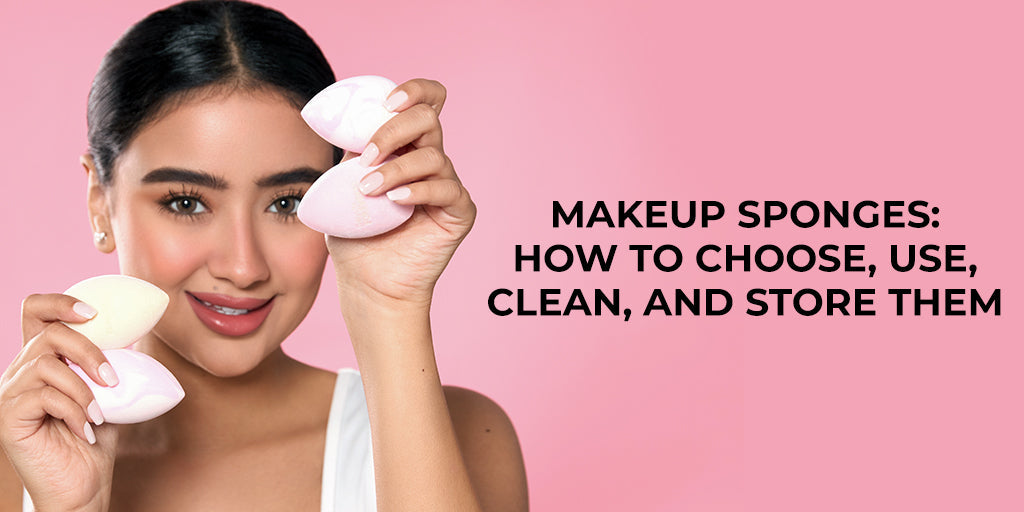
Makeup sponges have become an essential part of modern beauty routines. These little tools help blend makeup flawlessly, giving you a smooth and natural finish. Whether you're a beginner or a makeup pro, learning how to use makeup sponge can take your makeup skills to the next level.
But it’s not just about applying foundation - choosing the right sponge, cleaning it properly, and storing it correctly can make a big difference. In this guide, we'll walk you through everything you need to know to get the best out of your makeup sponges!
Choosing the Right Makeup Sponge

There are different types of makeup sponges, each designed for specific tasks. Here are some common types and how to choose the right one for you:
- Teardrop Sponge: This is the most common makeup sponge. Its rounded bottom allows for blending large areas, and its pointed tip allows for precise application around the eyes and nose.
- Flat-Edge Sponge: This sponge has one flat side. It’s great for applying foundation on flat surfaces like your forehead and cheeks.
- Wedge Sponge: These are smaller and angled, perfect for contouring or reaching tricky areas like under the eyes.
Material: Makeup sponges come in different materials, such as latex and non-latex. If you have sensitive skin, a non-latex sponge might be better for you.
Texture: Some sponges are soft and fluffy, while others are denser. A softer sponge provides a natural, light finish, while a denser sponge gives full coverage.
How To Use Makeup Sponge

Using a makeup sponge can seem tricky, but it’s simple when done right. To achieve a perfect appearance, stick to the following instructions:
- Wet the Sponge: Before using it, dampen your sponge with water. This helps the sponge absorb less product and blend more smoothly.
- Squeeze Out Excess Water: After wetting the sponge, squeeze out any extra water so it's damp but not soaking wet.
- Apply Your Makeup: Place a small amount of foundation or concealer on the back of your hand or directly on your face. Use the damp sponge to bounce or dab the product onto your skin gently.
- Use the Pointed Tip for Details: The pointed end of the sponge is perfect for getting into smaller areas, like around your nose and eyes.
By following these steps, you’ll see how easy it is to master the use of makeup sponge and beauty blender for a natural, blended finish.
Cleaning Your Makeup Sponge
Cleaning your makeup sponge regularly is very important. Dirty sponges can collect bacteria, which can lead to breakouts. Here’s how to clean them:
- Use a Gentle Cleanser: You can use a mild soap or a special makeup sponge cleanser. Rub the sponge in your hands under warm water until the product washes out.
- Microwave Method: For a deep clean, place your wet sponge in a microwave-safe bowl with a bit of water. Microwave it for about 30 seconds. Let it cool before taking it out. This helps disinfect the sponge.
- Air Dry: After washing, squeeze out the water and let your sponge air dry. Don’t store it while it’s still damp, as this can cause mold to form.
Cleaning your sponge regularly will make sure it stays hygienic and lasts longer.
How To Store Your Makeup Sponge
Proper storage is key to keeping your sponge clean and in good shape. Here are some tips:
- Let It Dry: Always allow your sponge to dry completely before storing it. If you store it while it’s still damp, it can grow bacteria or even mold.
- Use a Sponge Holder: Keep your sponge in a breathable container, like a mesh pouch or a holder that allows air to circulate.
- Avoid Closed Containers: Don’t store your sponge in a sealed plastic bag or drawer. It needs air to stay fresh and dry.
By storing it correctly, you’ll make sure your makeup sponge lasts longer and stays free of bacteria.
How to Use Beauty Blender and Makeup Sponge for Different Products
Makeup sponges aren’t just for foundation! They can be used for many products:
- Foundation: A damp sponge is best for blending liquid foundation. It gives a smooth, even coverage.
- Concealer: The pointed tip of the sponge helps to apply concealer under the eyes and around the nose.
- Powder: Use the sponge dry to press loose powder or compact powder onto the skin, especially on areas like the T-zone (forehead, nose, and chin).
- Blush and Highlighter: The sponge's rounded part can be used to blend cream blusher or highlighter for a seamless finish.
Once you know how to use makeup sponge, you’ll see how versatile it can be!
Common Mistakes to Avoid
- Using a Dirty Sponge: Always make sure to clean your sponge after every few uses to avoid breakouts.
- Applying Makeup with a Dry Sponge: Wetting the sponge makes a huge difference in how your makeup looks.
- Rubbing Instead of Dabbing: When using a sponge, always dab or bounce it on your skin instead of rubbing it. This gives a smoother finish.
Wrapping Up
Mastering the use of makeup sponges is key to achieving a smooth, flawless makeup application. From picking the right sponge to cleaning and storing it correctly, each step ensures your makeup looks natural and lasts longer. Now that you’ve learned the ins and outs of how to use a beauty blender and makeup sponge, you can take your makeup routine to the next level.
If you're looking for a variety of quality sponges to suit all your makeup needs, Daily Life Forever52 offers an impressive range. Their selection not only provides options for different makeup products but also ensures that you get the perfect blend every time. Proper care for your sponge will keep your skin healthy and your makeup flawless. So, choose wisely, maintain regularly, and watch the magic unfold!


